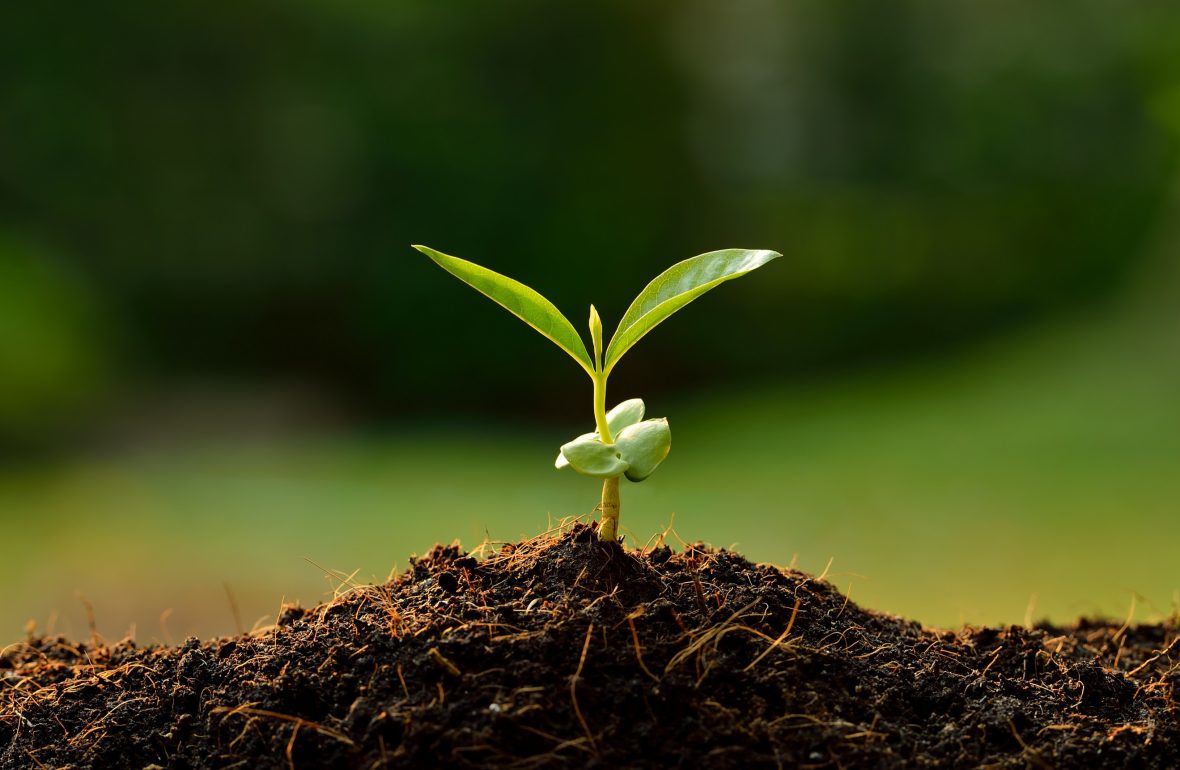
Get your hands into the soil before the ground is thawed! Starting your annual or vegetable seeds indoors is rewarding to get a jumpstart on your gardens. Read below for some tips and tricks to starting seeds indoors for a bountiful garden come spring.
What to start indoors
Some vegetable plants are best started indoors because they have slower root development or are very susceptible to the cold and variable temperatures of spring. Below is a list of vegetables that should always be started indoors prior to be planted into the garden.
- Broccoli
- Brussels Sprouts
- Cabbage
- Cauliflower
- Celery
- Eggplant
- Peppers
- Tomatoes
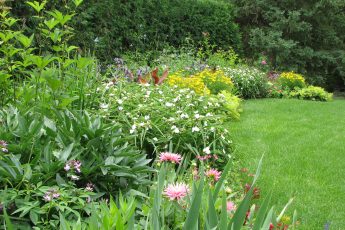
Many varieties of annuals can easily be started indoors. By starting annual seeds indoors, the plants will benefit from a longer growing season providing a fuller, beautiful flower garden. Below is a list of annuals that are some of the easiest flowers to start from seed.
- Alyssum
- Black-Eyed Susan (Rudbeckia)
- Celosia
- Cosmos
- Impatiens
- Marigolds
- Morning Glory
- Nasturtium
- Zinnias
When to start seeds indoors
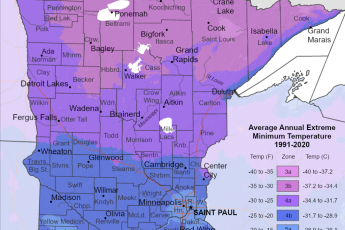
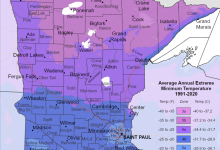
The best time to start seeds indoors is about six weeks to eight weeks before the last frost. In the Twin Cities area, the average last frost date is May 15th which means seeds can be started indoors as late as April. Most beginner “seed starters” make the mistake of starting their seeds too soon. As a general rule, most seeds can be started four to six weeks before being planted outside.
Supplies needed
Seed starting does not require a lot of supplies, which also makes it an economical option to start a garden without spending a lot of money on finished plants. To start all you need are some containers, a sterile potting mix, space and of course, seeds.
Choose a container that is at least two inches deep with adequate drainage. Compostable containers are a great option as they are inexpensive to buy and can be “planted” directly into the garden. If you are reusing non-compostable containers, always disinfect with soap and water prior to planting to eliminate any leftover pathogens or insects.
Use a sterile potting mix, we love Espoma Organic Seed Starter. Using a sterile, soil-less mix allows for better aeration (key for developing roots) and will be free of any soil borne diseases or fungi.
Tips for successful seed starting
Always read your seed packets! They do put instructions on the back of those little packs and contain information on germination, light requirements, depth to plant and when to plant.
Unless you have a phenomenal memory, always use labels to know “what” you put “where”. We love reusable plant markers that can be erased and reused season after season. Popsicle sticks, collar stays or any other weatherproof label you can make will work just fine, and always use a waterproof marker.
Heat
Turn up the heat. Most seedlings will only germinate in temperatures between 65 to 75 degrees. Heat mats can help with germination or you can create a mini greenhouse by covering your containers with saran wrap and placing in a bright window sill. You can also opt to purchase a seed starting tray (or greenhouse kit) which will include a drip tray and a cover to hold in heat.
Light
Go to the light. The best place to start seeds indoors outside of a greenhouse is in a sunporch or a room with south facing windows. If you do not have south facing windows in your home, opt for a grow light or a simple shop light with fluorescent bulbs. Position the light fixture a few inches above the seedlings and raise as the seedlings grow. Seedlings require 12 to 16 hours of sunlight per day, if you notice leggy seedlings chances are your plants are not getting enough light.
Water
Watch the water. After planting your seeds you only need to keep the soil moist, not wet. Once the seeds have germinated stick to the rule of moist and not wet, it is very easy to drown a seedling when they only have one to two roots. The best method to water your seedlings is from the bottom of the container, allow the seedling to soak up water through the drainage holes.
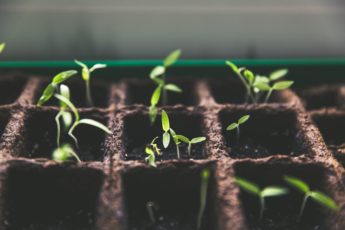
When to transplant
Once your plants get their “true” leaves, which are two leaves that grow larger than the tiny leaves (cotyledon) that first emerge, your plant is ready to be transplanted. Before you plant any of your plants into the garden it is important to harden them off first. Hardening off a plant is the process of acclimating the plant to the change in light and temperature from being inside to outside. Read our blog on hardening off your plants for more information.


Leave a Comment